Today we are going to learn how to whitelist IP in CSF firewall. You website will cease to serve to your client when their IP address is blocked.
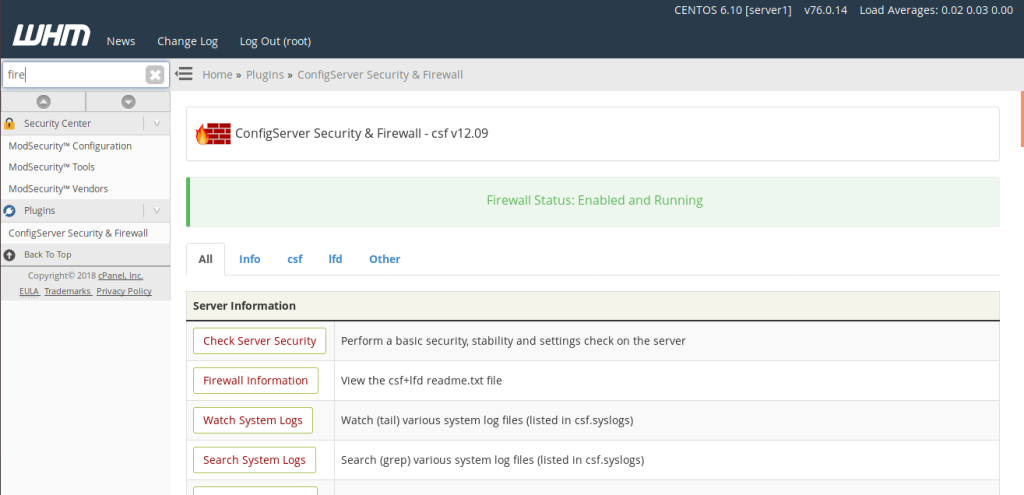
Its important to note that there are two components to teh CSF firewall, The firewall itself and the login failure daemon(lfd) If your server is using CSF, you will find its interface listed in WHM as ConfigServer Security&Firewall under the Plugins section in the left menu. You also can begin typing “firewall” into the search box at the top left to narrow down the choices.
Below we would like to show how to whitelist an IP address through WHM panel.
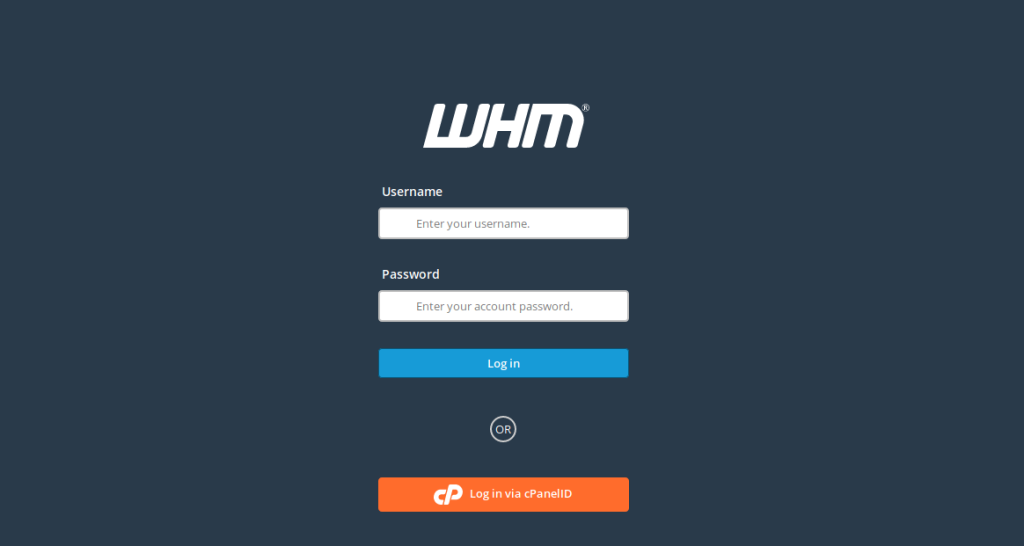
Step1. Log in to WHM.

Step2. Search –>Configserver Security & Firewall

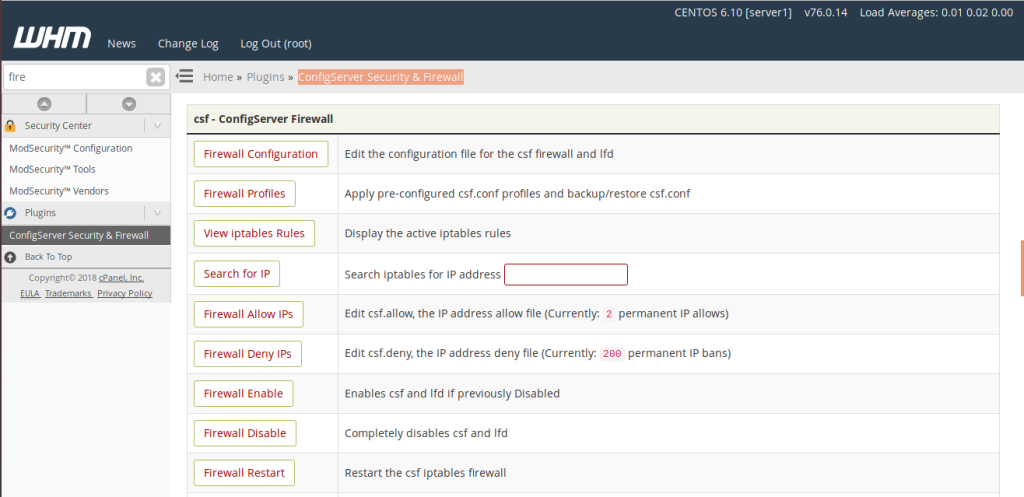
Step3. Go to –> Search For Ip enter the ip

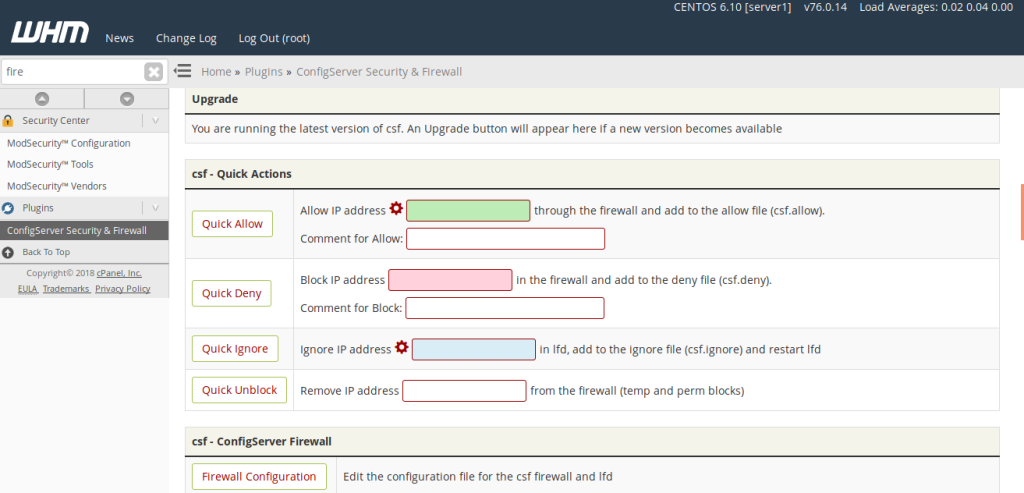
Step4. There are three options that are most important : Quick Allow, Quick Deny, and Quick Ignore. Simply enter the IP address into the coloured box, and left click the ‘Quick Allow’, ‘Quick Deny’ or ‘Quick Ignore’.

Step5. If you want to whitelist a IP address to the server, you can add the IP to “Quick Allow”. Once applied, you then will want to add the IP to “Quick Ignore”.
It is recommended to whitelist IPs only as necessary and, for a long-term solution, focus on resolving the issue which led to the block (such as incorrect login credentials). However, as a temporary measure while troubleshooting or otherwise working to correct the underlying issue, you can prevent an IP address from being blocked by lfd by adding it to the ignore list (csf.ignore).
If you are still struggling to get your IP white-listed on your server, Kindly feel free to connect with one of the server technician who can assist you with the issue.