Jitsi is a server-side application. It enables standard SIP clients to participate in meetings, and it includes transcribing features.
Entering your account and password is required throughout the installation process. Other experts will be invited using this account.
System Requirements for Install Jitsi-Meet:
- A server with Ubuntu 18.04 or 20.04.
- At least 1 GB of RAM (4 GB is recommended).
- 1 vCPU (2 is recommended).
- 25 GB Storage.
Steps:
1) For Ubuntu 18.04, add Prosody package repository
#echo deb http://packages.prosody.im/debian $(lsb_release -sc) main | sudo tee -a /etc/apt/sources.list

#wget https://prosody.im/files/prosody-debian-packages.key -O- | sudo apt-key add -

2) The Initial Server Setup with Ubuntu 20.04 guide was used to set up an Ubuntu 20.04 server with a non-root sudo user. The number of users and the available bandwidth are the two most important factors in determining the server’s size.
You may get an idea of what you’ll need by looking at the table below.
First of all, install the Jitsi repository key onto your system:
#curl https://download.jitsi.org/jitsi-key.gpg.key | sudo sh -c 'gpg --dearmor > /usr/share/keyrings/jitsi-keyring.gpg'

3) Create a sources.list.d file with the repository:
#echo 'deb [signed-by=/usr/share/keyrings/jitsi-keyring.gpg] https://download.jitsi.org stable/' | sudo tee /etc/apt/sources.list.d/jitsi-stable.list > /dev/null

4) Update your package list:
#sudo apt-get -y update

5) Install the full suite:
#apt-get -y install jitsi-meet jitsi-videobridge jicofo jigasi

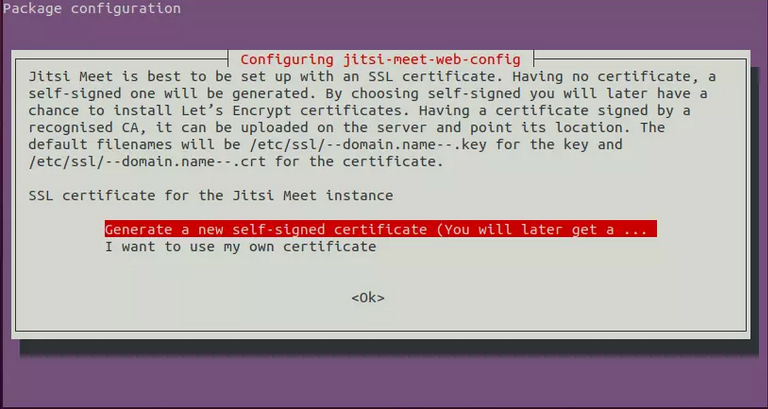
Configuring Install Jitsi-Meet:
SSH access was allowed and the UFW firewall was activated in Ubuntu 20.04’s first server setup instructions. In order to connect with the call clients, the Jitsi server requires a few ports to be opened. Open a port for the TLS installation procedure to authenticate certificate requests as well.
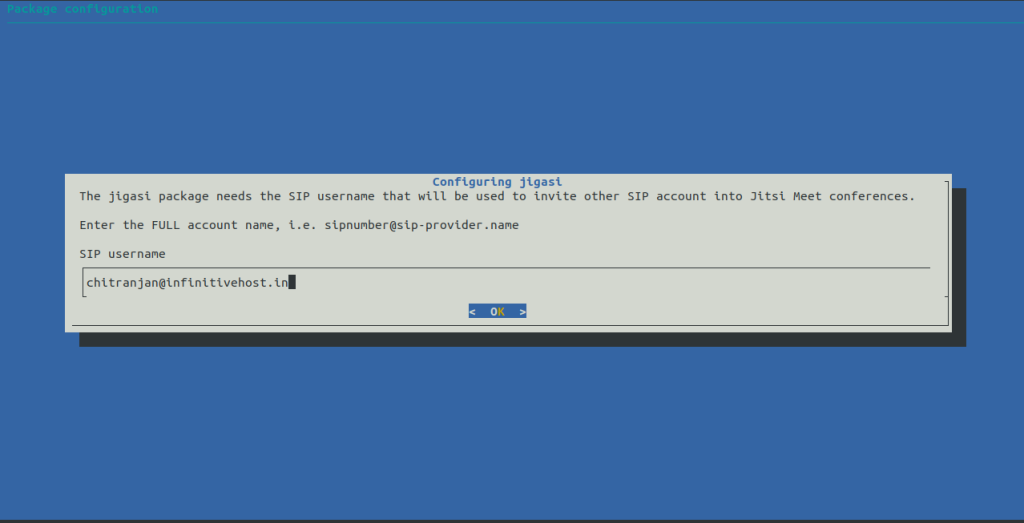
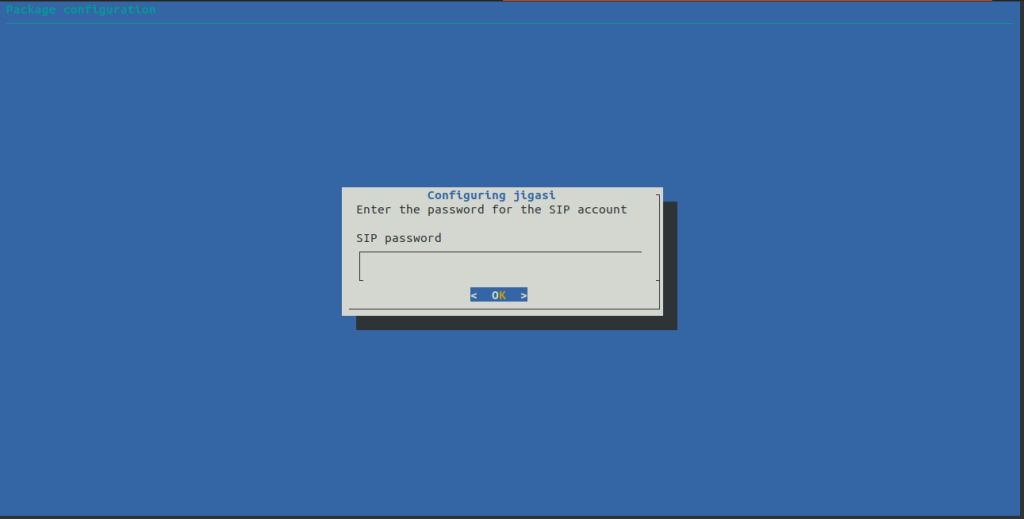
6) Installing SSL on Hostname:
#sh /usr/share/jitsi-meet/scripts/install-letsencrypt-cert.sh

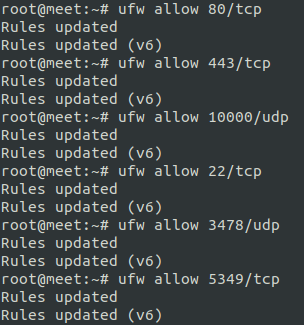
7) Enable Ports in the firewall(UFW):
#ufw allow 80/TCP
#ufw allow 443/tcp
#ufw allow 10000/udp
#ufw allow 22/tcp
#ufw allow 3478/udp
#ufw allow 5349/tcp
After all, these processes, check your jitsi meet on the browser using the hostname of your server or IP.
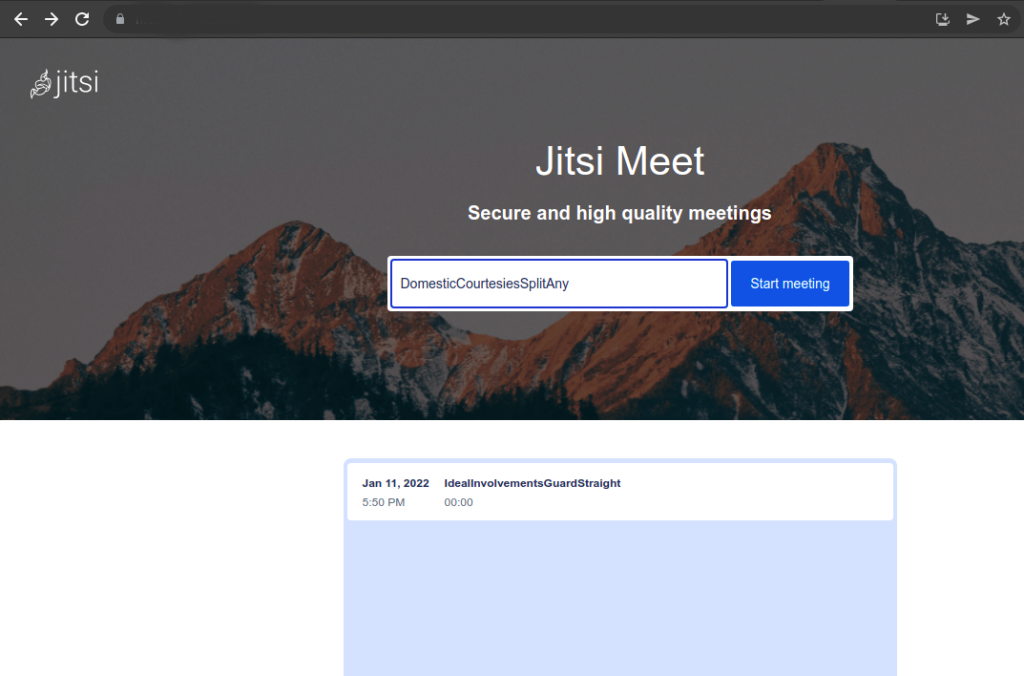
Using the Jitsi Meet server you installed in this tutorial, you may host secure video conference rooms. The Jitsi handbook contains instructions for extending your Jitsi Meet instance.