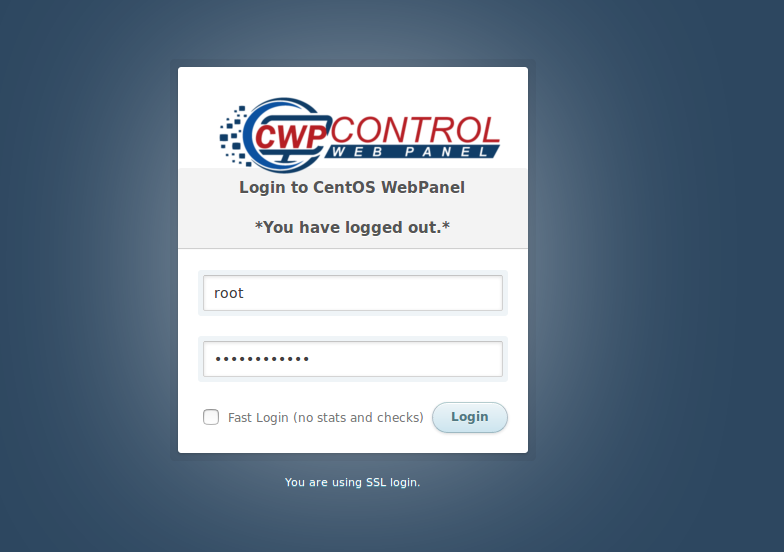
1. Log in to your CWP control panel.

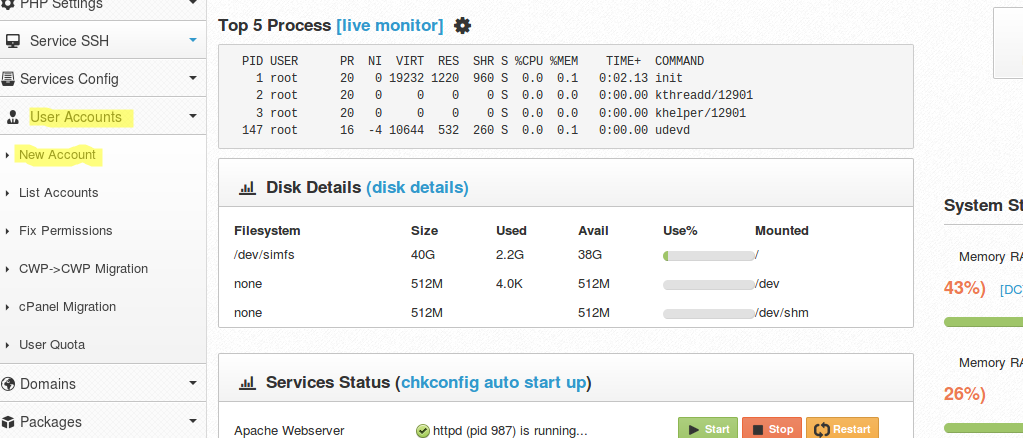
2. Navigate to the “User Accounts” section. This section usually contains options related to managing user accounts and domains.

3. Click on “New Account” to create a new user account.

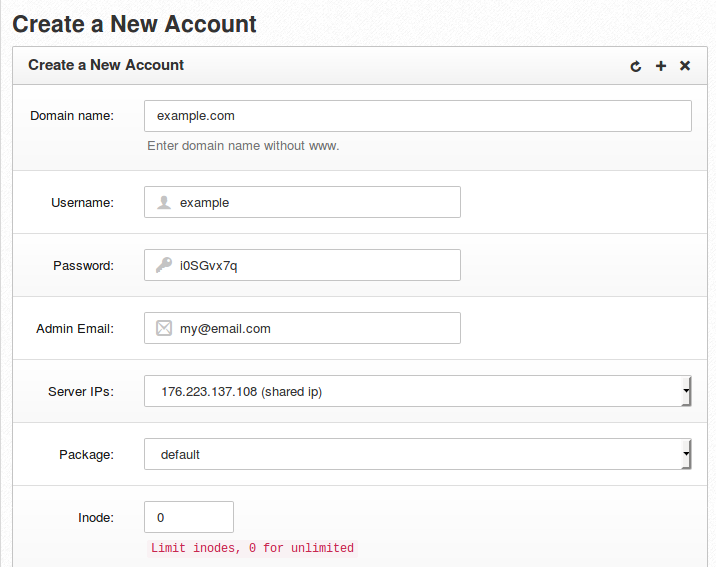
4. Fill in the required details for the new account, such as the username, password, domain name, and email address. You can also specify the package for the account, which determines the resources allocated to it.
5. Click on the “Create” button to create the user account.
6. Once the user account is created, go to the “Domains” section in the control panel.
7. Click on “Add Domain” to add a domain to the newly created user account.
8. Provide the domain name and select the user account you created earlier from the dropdown menu.
9. Choose the appropriate options for the domain, such as whether to enable SSL, create DNS zone, etc.
10. Click on the “Add Domain” button to add the domain to the user account.
11. CWP will set up the necessary configurations for hosting the domain. Once the domain is added, you will be able to manage its settings, such as DNS, email accounts, and other related options.
That’s it! You have successfully hosted a domain in CWP. You can now upload your website files or configure additional settings for the domain as needed.