1. you will need to create/login on [Amazon AWS](https://aws.amazon.com/ses/).
i. First you need to create your domain on AWS Verified identities in Amazon SES SMTP.
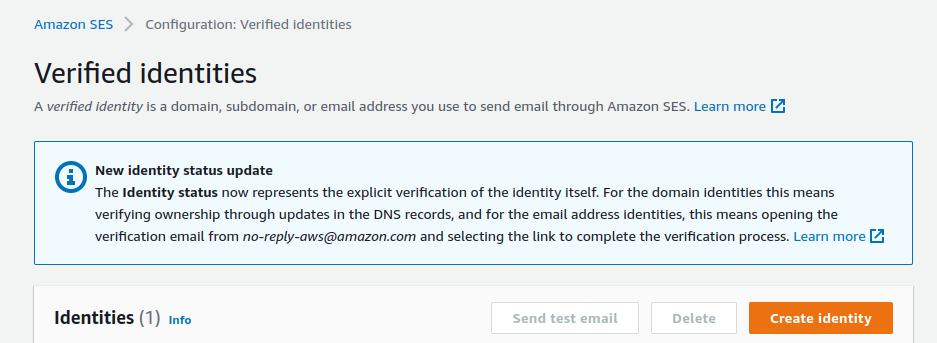
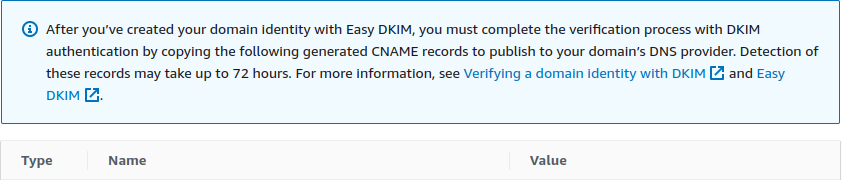
ii. After that Amazon will provide you with a TXT record to add to your DNS.
Iii. When you add TXT records in your DNS, These records may take up to 72 hour to prepagate.

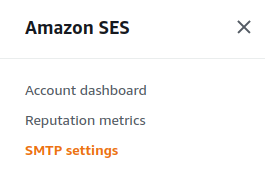
iv. Go to SMTP settings.
v. Create SMTP Credentials..
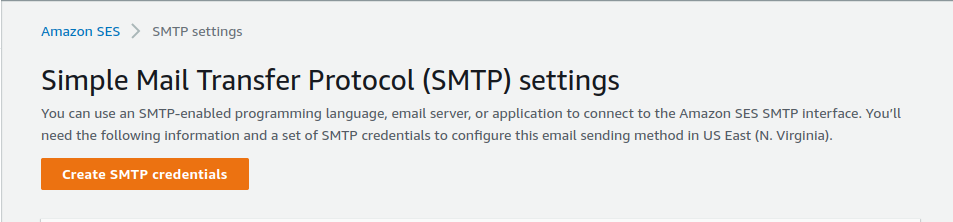
vi. Now AWS provide SMTP endpoint, SSL/TLS Port, Username and Password. Those SMTP details will configure on WHM/cpanel.
2. Login on WHM Panel.
3. Now go to Home > Service Configuration > Exim Configuration Manager. And click on Advanced Editor.
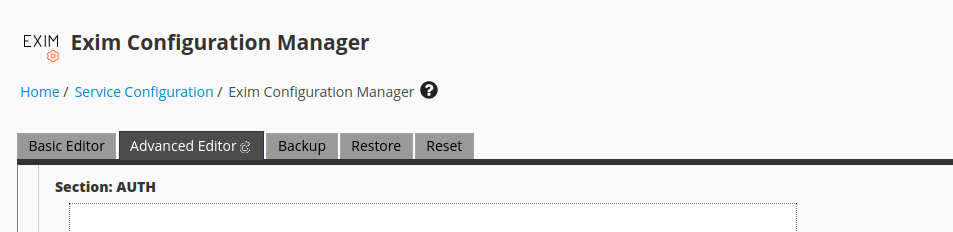
4.We will add extra configurations to the following sections:
a. ROUTERSTART
b. TRANSPORTSTART
c. AUTH
5. Click on Section: ROUTERSTART and add these below given code:

Note: The route_list above represents the SMTP endpoint, and it varies depending on the AWS SES account region.
6. Click on Section: TRANSPORTSTART and add these below given codes:

7. Go to Section: AUTH and add below lines of code:
Note: Make use of username and password provided by AWS SES dashboard. Here is a screenshot below.


8. Click on Save.
9. Open your webmail and send a test mail.