This post will walk you through the process of restoring a partial home directory backup using cPanel. You can restore your website and emails using these procedures if you have a backup on your computer or another host. By restoring the partial home directory backup, you may bring your website’s files and emails up to date with the last backup date.
Never Lose Data Again: Follow This Step By Step Guide to Restore cPanel Home Directory Backup!
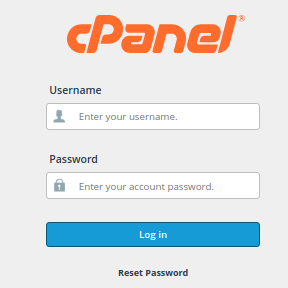
1. Login to cPanel.

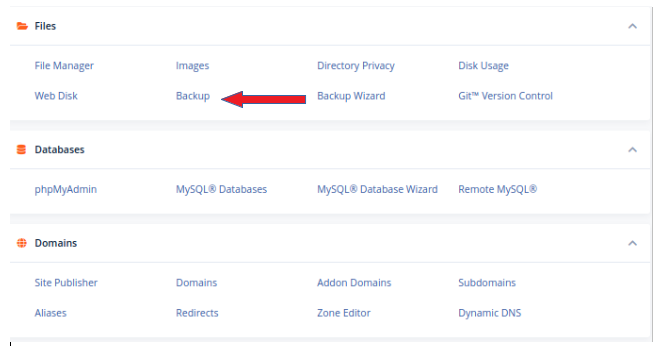
2. Now, find the “BACKUP” in the “FILES” section and click on it.

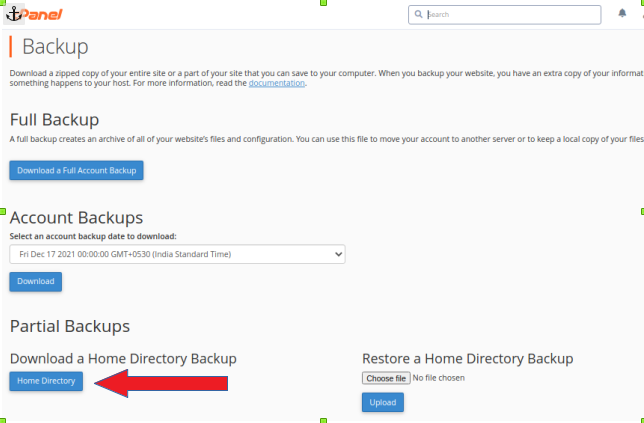
3. Here, you will find the “DOWNLOAD A HOME DIRECTORY” option for downloading a home directory backup.

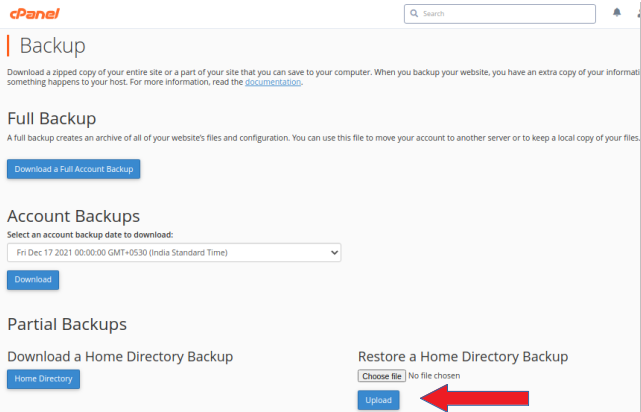
4. For restoration, you will find the “RESTORE A HOME DIRECTORY BACKUP” option. Here you can upload a home directory backup.

5. You should see a list of available backups. Choose the backup file you want to restore by clicking on its name.
6. Next, you’ll be prompted to select the specific items you want to restore from the backup. You can choose to restore your entire home directory or select specific files and folders.
7. After selecting the desired files and folders, click on the “Restore” button.
8. A confirmation message will appear, asking if you want to proceed with the restoration. Click on “Restore” again to confirm.
9. The restoration process will start, and you will see a progress bar indicating the status of the restore operation.
10. Once the restoration is complete, you will receive a success message.
11. You can verify the restored files by navigating to the File Manager in cPanel and checking the respective directories.
That’s it! Your home directory backup has been successfully restored in cPanel. Remember to double-check and ensure that you have selected the correct backup file before initiating the restoration process.
