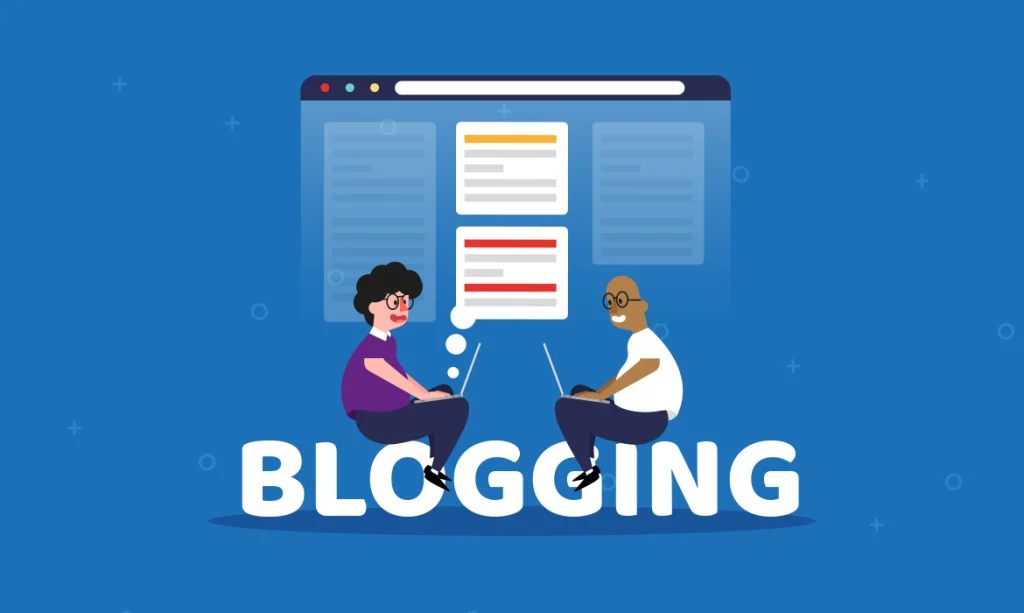
Finally, you have decided to start blogging. You are on your way toward creating a website that perfectly reflects your brand.
Some people thought that creating a blog was complicated. In the digital world, creating or starting a blog is not just about writing or expressing your ideas; you can also get opportunities to make income.
We aim to give you step-by-step information about how to create a blog using WordPress. If you are looking to share unique knowledge, build a community around a common interest, or even pave the way to financial freedom, starting a blog can be a stepping stone for you.
Let’s begin the beautiful journey of starting your blog. Don’t worry; remind yourself of one thing: every fortunate blogger started from the bottom. You don’t need to be perfect or a technical expert; just overcome whatever is stopping you.
An overview of the steps required to start a blog
Whether it’s your first blog or a fresh start after other endeavours, the best way is to make the process as easy as possible and start one step at a time.
Start your blog in just five easy steps:
1. Choose a website and hosting company
2. Selecting the Perfect Blog name and Domain Name
3. Set Up Hosting and Install Your Blogging Platform
4. Customize Your Blog’s Appearance
5. Craft and Publish
Detailed information about what is included in each step.
Step 1: Choose a website and hosting company
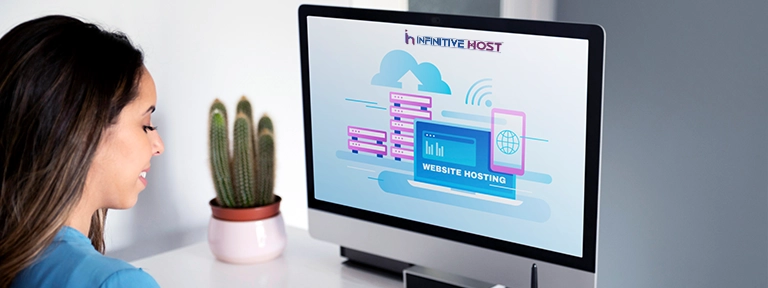
Your blog needs a physical location where you can store your products so your customers can access them. This selected physical space is a unique computer known as a server. This is where WordPress web hosting providers, such as Infinitive Host, step in. We furnish the server space where your website finds its home. Our services are budget-friendly, accompanied by the best blog security features, and backed by round-the-clock expert technical support.
How do I install the Infinitive Host Hosting package?
When you decide, go through the Infinitive Host hosting page and Choose the option “Get Started”. You will see a table that includes many hosting plans.
If you just started blogging, we will recommend shared hosting options. Shared hosting is budget-friendly and best for websites with low traffic.
Plus, we have dedicated WordPress hosting options that suit your needs.
If you are not sure which plan you have to choose you can contact your support team and we will help you choose the best options.
Step 2: Selecting the Perfect Blog name and Domain Name
Select a Blog Name: It’s important to choose a catchy name. If your topic is very long, you can’t compete with other websites. You need to shorten the topic. Choosing a topic is easy for some people but harder for others. Don’t linger too long at this step. If you start with a topic and see it getting nowhere, you can always start another blog. The key is to overcome your reluctance to get started.
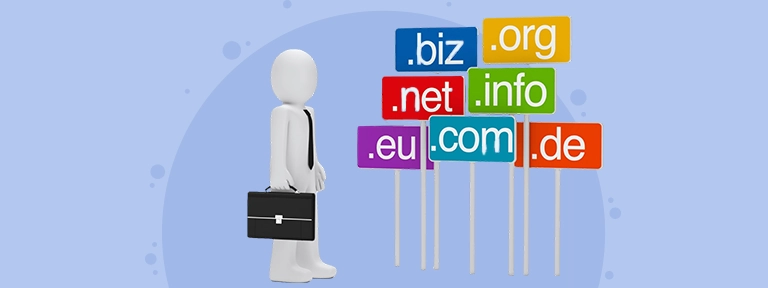
Select Domain Name: It’s the address that readers will use to find your content. A catchy and suitable domain name is important. Ideally, it should reflect your niche
and be easy to spell and remember. Keep it concise and avoid using hyphens or
special characters.
When choosing a domain name, consider incorporating relevant keywords that help users understand what your blog is about. You’re better off using a domain ending with a dot com (.com) instead of a dot net (.net) or top-level domain. If readers remember only your blog name and forget what follows a dot, they will try.com first.
Conduct a domain name search to ensure your chosen name is available. Once you find the perfect domain, register it through your chosen blogging platform.
Step 3: Set Up Hosting and Install Your Blogging Platform

If you choose a free platform to start and gain experience, keep in mind that there will be ads on your site that will distract. If you choose this path, you do not need to buy a domain name or hosting.
Choosing a reliable hosting provider is crucial for your blog’s performance and stability. Look for a provider that offers the resources you need at a price that fits your budget.
Install WordPress
We offer one-click installations for popular blogging platforms, making it easy to set up your blog without technical expertise.
Installing WordPress is tricky, but Infinitive Host has made it easy for you. You can install WordPress from your Infinitive Host account, and you just need to click a few buttons.
Firstly, log in to your Infinitive Host account manager. Then, click on the Hosting tab in the left menu. Now, you will find the sites you are currently hosting, and if you want to add a new site, just click on Add Site. Now you have to enter the site title and domain title. Next, Click on Continue. Infinitive Host has installed WordPress for you.
Your site is ready to be visible in “Sites on Your Hosting Plan,” and now you can click on Setup.
During installation, you’ll have the opportunity to customize your blog’s appearance by selecting a theme or template. Choose a design that resonates with your niche and is visually appealing to your target audience. Customization is key to making your blog unique and engaging.
Step 4: Customize Your Blog’s Appearance
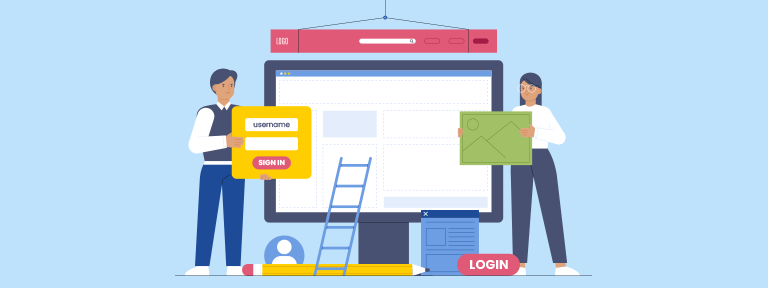
The visuality of your blog plays an important role in engaging and retaining readers. Customizing your blog’s appearance involves selecting a theme and adjusting color schemes, typography, and layout to create a cohesive and inviting design.
A theme functions as a template that enhances the visuality of your blog, giving it a distinctive look. When you start your blog, it will already come with a selection of free themes that you can choose from. You have the option to select one of these free themes, or you might decide to invest in a premium theme for a more unique and personalized appearance.
If you’ve opted for WordPress as your chosen blogging platform, you’re in luck. The installation process for themes is well supported, with an abundance of tutorials available.
Simplicity and readability should be prioritized in your design. A clutter-free layout with easy navigation will enhance the user experience and keep visitors engaged. Don’t forget to include your blog’s logo and branding elements for a professional touch.
Step 5: Craft and Publish
Create high-quality, instructional, and attractive articles that make your blog meaningful to your targeted audiences.
To write your first blog post, head to your WP admin, go to Posts, and choose Add New. Start crafting your content. When done, click “Publish” to go live or save as a draft for later.
To stand out, focus on creating captivating headlines, attention-grabbing intros, and meaningful advice. Use sub-headers and bullet points for easy scanning.
Avoid pitfalls like overly clever subheads or boring ones. Don’t forget to optimize for search engines using SEO strategies.
Develop a content calendar to maintain consistency in your publishing schedule. Mix up your content formats, including articles, how-to guides, videos, and infographics, to keep your audience engaged.
Promoting your blog is essential for attracting readers. Utilize social media platforms, guest posting, and collaborations with influencers in your niche to expand your reach. Stay connected with your audiences by email newsletters, comments, and social media. Building a community around your blog will enhance its impact and longevity.
Final Thoughts
Starting a blog might seem like a daunting task, but by following these five simple steps, you can launch your digital platform with confidence.
Remember, finding your niche, selecting a blogging platform, customizing your blog’s appearance, crafting compelling content, and promoting your blog are the building blocks of a successful blogging journey.
Embrace your passion, be consistent, and let your unique voice shine through your blog’s content. With dedication and creativity, your blog can become a meaningful and influential online presence.
